Granting agent full disk access
While it is possible to perform a manual agent install using the contents of the tmsminstall.zip file from the agent repository, this method will require the execution of some post-install steps to ensure the agent works properly.
One of the most important post-install tasks is to allow the agent 'full disk access' to the Mac endpoint. The link below is for a Trend-provided breakdown of post-install steps. You can find details on full disk access under step 2:
If you are deploying to a large number of Mac endpoints, it is recommended using the method outlined below which involves using JAMF, and includes the granting of full disk access by way of a configuration profile.
Using JAMF to deploy Mac agents
Create a new computer policy in JAMF
- Set your triggers for “Enrollment Complete” and “Recurring Check-in” to once per computer
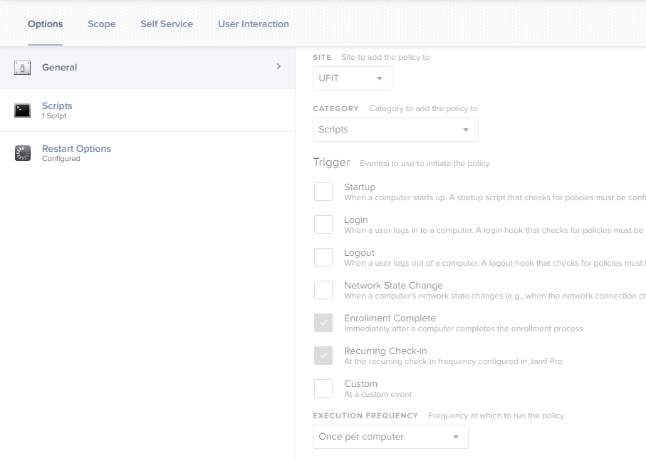
- Select the “UFIT-TrendMicroApex1forMac” script for use with your new policy.
- Please note:
-
This script is only for campus side clients. We will have another script that will be used by HSC.
-
This method will only work if the machines are on an internal network or VPN. This method uses a script that pulls the package from the Trend Servers.
-
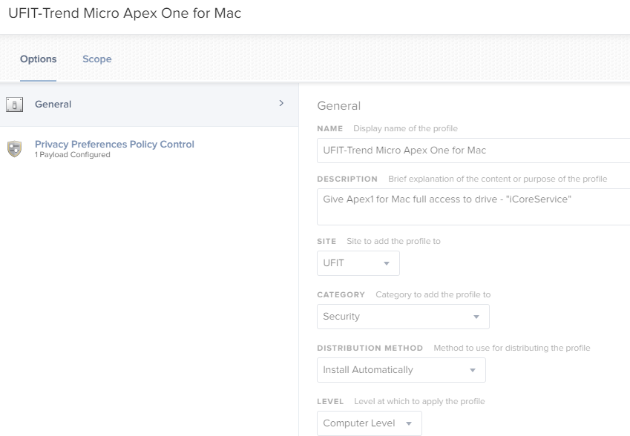
Create a new configuration profile
- A “Configuration Profile” will need to be created for Trend Micro Apex One for Mac. This will allow the app access to the full disk for scanning
- Click “Upload”, choose file “Trend Micro Apex1 for Mac.mobileconfig” located at \\ad.ufl.edu\ufem\JDP_Content\PRD\

-
Name and scope the Configuration Profile to your site/dept. For example, in the illustration bellow, this profile is for use within UFIT.