When you create a section you will need to add fee(s) even if the section is offered for free. You can add as many fees as you wish. The process is explained below.
Make sure you are on the section's "Info" tab, scroll down until you see the Fees* area, click on the "Add fee" button, as shown below.
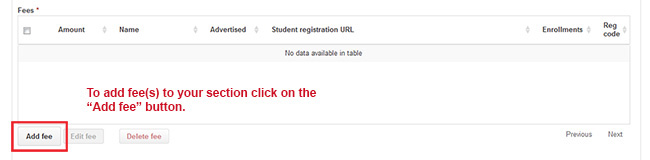
A dialog box will pop up as shown below:
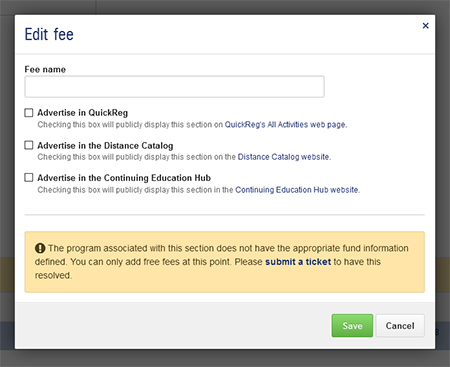
If your program does not accept credit card payment, you can only add free (0.00) fees. You won't see the "Price" field, however you can name your fee if you wish, such as Student Discount, etc.
If your program is set up to receive credit card payments you will be able to enter the Price amount and name your fee if you wish. You can enter as many fees as needed albeit one at a time.
If the "Advertise in QuickReg" checkbox is selected your course will be publicly listed on QuickReg's All Activities web page.
If the "Advertise in the Distance Catalog" checkbox is selected your course will be publicly listed on the Distance Catalog website.
If the "Advertise in the Continuing Education Hub" checkbox is selected your course will be publicly listed on Professional Development's Continuing Education Hub website. You will need to submit a jpeg or png image to quickreg@aa.ufl.edu for us to host the image for you. The final image size should be 275px by 234px. Please view the CE Hub page to see how the image should look with your unit's logo/tagline, etc. If you need assistance with creating the image please contact us at guickreg@aa.ufl.edu. For more information on this course advertising option please view this video: How to advertise your course on the Continuing Education Hub (video / 5:38).
You can choose any or all of these checkboxes to help advertise your course. If your course is for a private audience don't select any of the advertising options. For courses that are intended for private audiences (not publicly available) you will need to email your students the "Student registration URL" that is found in the Fees* box for them to enroll into your class.
Once fees have been added, the fee grid will look similar to this:
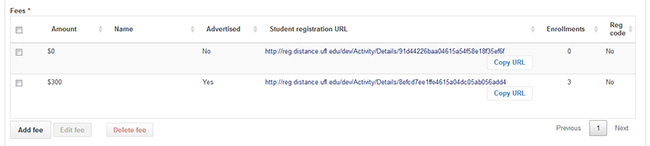
The fee grid displays:
You can also select a checkbox next to a fee and then click on the "Edit fee" button or the "Delete fee" button if you need to make changes or delete a fee.