
Releasing Your Print Job
Once you have sent a print job, you have one final step to complete your printing journey. There are two ways to achieve this goal.
1. After submitting your job to the print queue, visit printing location on campus.
2. Scan the QR code located near the printer. After logging in with your GatorLink credentials, you’ll reach the printer’s release page.
3. Select the jobs to be released and click the green “Release” button at the bottom of your device.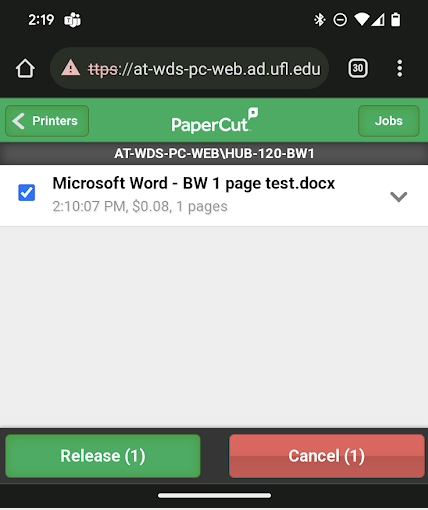
4. Wait as the printer churns out your print. Caution: Print may be hot coming off the press!
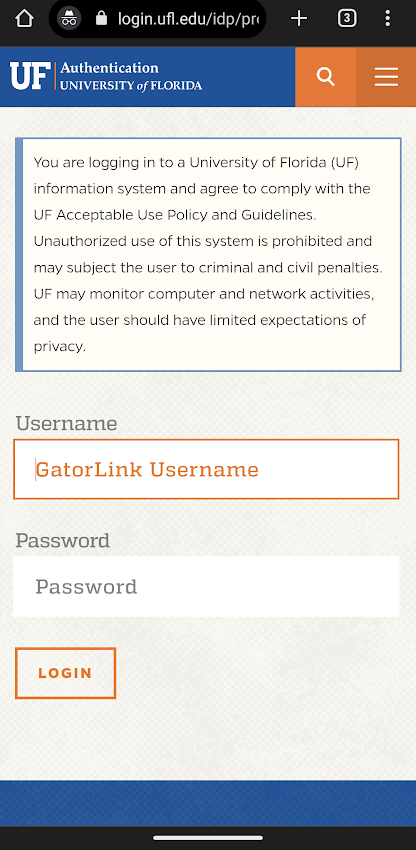
- Visit the GatorPrint website. You will be directed to log in/authenticate via Multi-Factor Authentication.
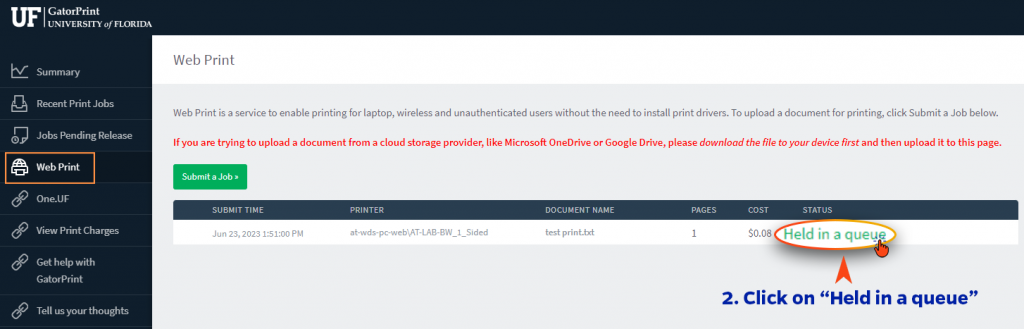
- After the browser returns to GatorPrint, click on the Web Print tab, and then “Held in a queue” next to your print job.
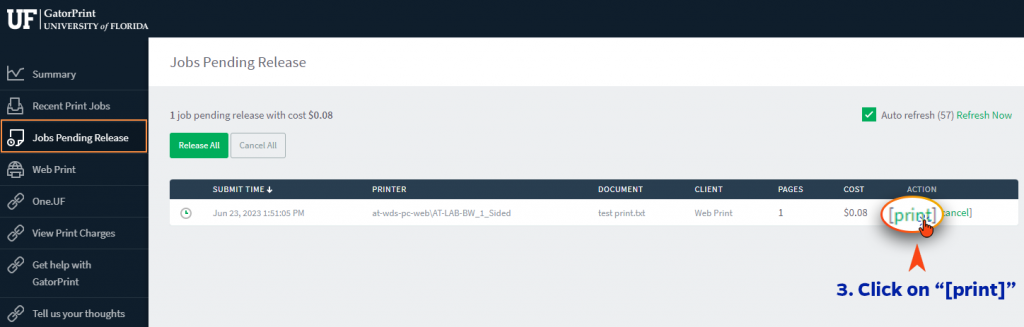
- Under the Jobs Pending Release tab, click “[print]”
-
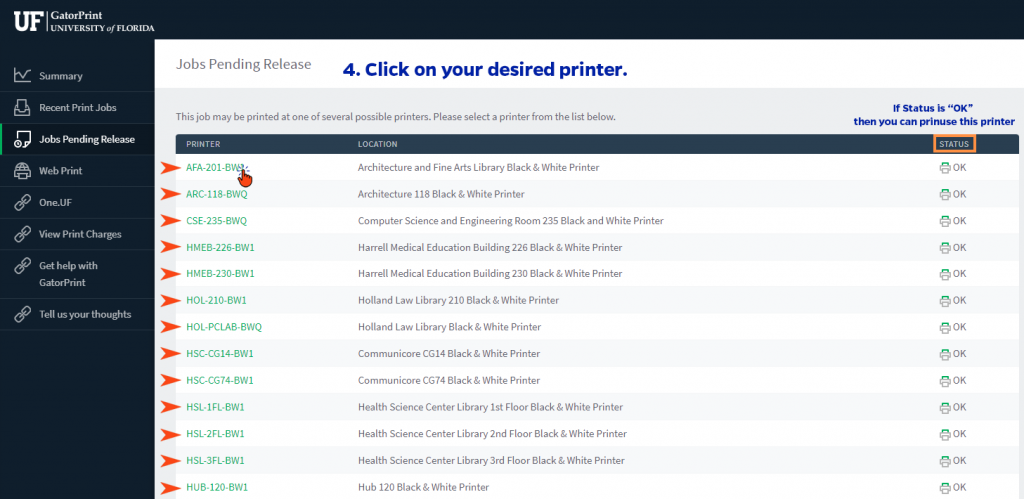
Choose your desired printer by clicking the green-colored text that corresponds to the printer’s location.
Note: Once you click the green text, the print job will release and start printing.
- Physically go to the printer’s location and pick up your print.